
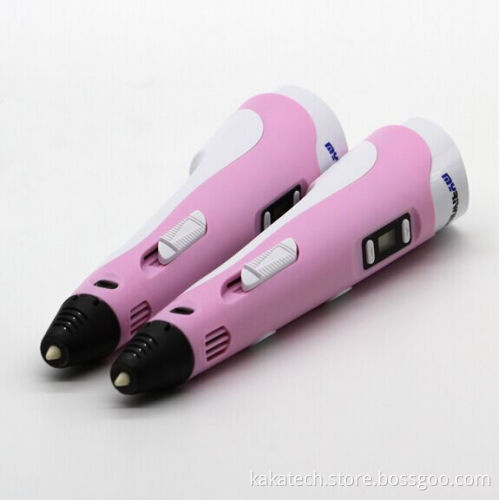
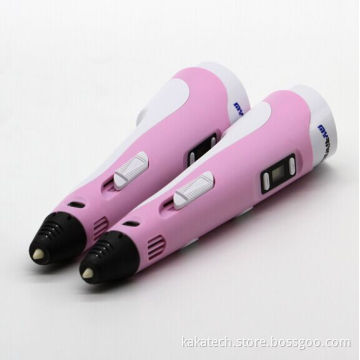
2rd Generation 3D Stereo Drawing Printing Pen
- Payment Type:
- T/T, Money Gram, Western Union
Quantity:
Your message must be between 20 to 2000 characters
Contact NowBasic Info
Basic Info
| Place of Origin: | Shenzhen, China |
|---|---|
| Payment Type: | T/T, Money Gram, Western Union |
Product Description
Product Description
Product Description
Description
Please leave us message for asking more photos of the product
Specification:
1. Application: 3D Modeling
2. Print filament: 1.75mm ABS and PLA
3. Print Range: indefinite
4. Spinning speed: Adjustable
5. Heating temperature is in the range of 160 to 250 degree.
6. Device operating voltage: 12V 3A
7. Nozzle directly: 0.4-0.7mm
8. Material: Plastic Case
9. Pen weight: 65g/pc
10. Package Dimensions: Length 22x17x6.3mm
11. Package contents: 3D Printing pen x 1
Adaptor x 1
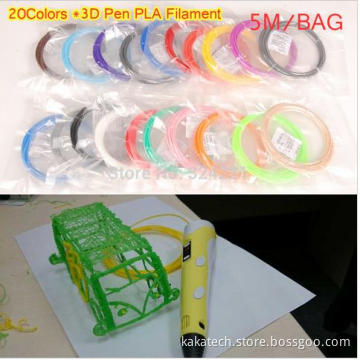
ABS Filament x 3 colors(Each 3 meters)
Manual x 1(in English)
12. Gross weight: 0.45kg/pcs
13. Pen colors: Blue, Yellow, Orange(You can tell us which color you like, or we will send it randomly.)
3D printing pen
1. Put the power adapter AC plug into the outlet DC plug into the "power input" hole, when the yellow LED turn on means the pen is in preheat status.
2. Press the "wire feeding" button, when the red led turns on and the pen is under preheating status. After 0.5-2minutes, when the red led turns to blue, the preheating finished and the pen is ready.
3. Insert the consumable material into the "wire loading hole "which is at the end of the pen. The other hand keep on pressing the "wire feeding" button, the material will be loaded by built-in motor. Hold till the plastic material comes out from the nib nozzle end, means the material loading is succeed.
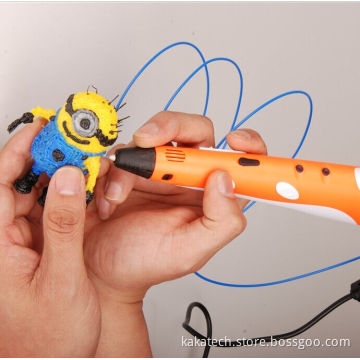
4. Painting, (The speed controller can adjust the spray amount according the moving speed, no need to use both hands)
5. Do not touching the nozzle and heating parts during the drawing.
6. The device will switch to standby mode if not using over 5 minutes. The "working LED" will be off, when use again, need press the "wire feeding" button to restart.
7. When need to unload or change the material, please repeat the step 2 and keep on pressing on "wire unloading" button.
"*" Heating time is effected by the setting temperature and environment temperature.
"**"Need to cut the material ending to smooth before loading the material.
"***"unloading the material after each use is highly recommended.

Related Keywords
Related Keywords
You May Also Like
You May Also Like
-

20 Colors 3D Printer Pen Filament ABS PLA 1.75mm Plastic Rubber Consumables

2rd Generation 3D Stereo Drawing Printing Pen

Hot Sell 1st Generation Children 3D Drawing Printing Pen
Related ProductsProduct Categories-
New Item(13)
-
Dual sim phone(32)
-
iPhone ipad case(32)
-
WCDMA 3G mobile(32)
-
Samsung case(32)
-
Tablet PC(32)
-
Headset headphone(30)
-
Bluetooth speaker(32)
-
watch phone(26)
-
GSM-CDMA phone(32)
-
Hiphone(3)
-
mini Google TV Box(17)
-
Electronic Accessories(32)
-
Cheap laptop(6)
-
Mobile Power Bank(28)
-
senior phone(6)
-
Wireless modem(3)

