

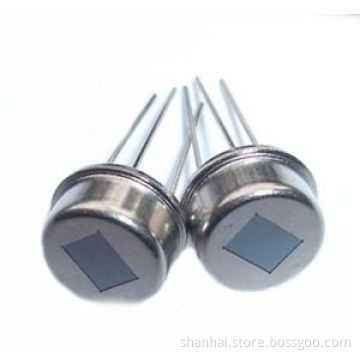
TMP006 Contactless Temperature Sensor Module Arduino Compatible
- Payment Type:
- T/T, Western Union, Paypal, Money Gram
Quantity:
Your message must be between 20 to 2000 characters
Contact NowBasic Info
Basic Info
| Place of Origin: | China |
|---|---|
| Payment Type: | T/T, Western Union, Paypal, Money Gram |
Product Description
Product Description
The TMP006 is the first in a series of temperature sensors that measure the temperature of an object without the need to make contact with the object. This sensor uses a thermopile to absorb the infrared energy emitted from the object being measured and uses the corresponding change in thermopile voltage to determine the object temperature.
This module breaks out all the necessary pins of TMP006. With on-board LDO chip, you could supply 3.7DV ~ 5.0V DC. The module sends and receive data through I2C interface.
We add a red LED indicating the power on the board. So far we didn't find that it affects the sensor result by comparing. You could remove it with a soldering tool if necessary.
Features:
1) Sensor Voltage: 7 UV/C
2) Local Temperature: -40 C to +125 C
3) Supply Current: 3.7V ~ 5.0V
4) Temp Resolution (Max) (bits): 14
5) Interface: I2C, SMBus
6) Remote Sensor Accuracy (Max) (+/- C): 3
7) Local Sensor Accuracy (Max) (+/- C): 1
Hardware Connection
If you have our Arduino Sensor Shield V6, you could plug and play as the following picture:
Hardware:
If you have our Arduino Sensor Shield V7, you could plug and play as the following picture:
If you don't have sensor shield, you could wire them in the following way:
Arduino connect with Tmp006 Module as below:
GND connect with GND
5V connect with VCC
SDA connect with SDA
SCL connect with SCL
Then connect the antenna. Any metal line about 75cm can serves as an antenna.
Arduino Coding:
We explain more about the code in the manual. Please refer to the manual for more information.
Download the library and upload the example sketch to Arduino. Open the Serial Monitor:
Then you could put the sensor beside object. Got result as follows:
Note:
There are many evironment factors to determine the result of the sesnsor. In the test, we found even wind could change the result. Please read the TMP006 user guide carefully before you embed it in your project.
We supply a sample library for Arduino board. Please note that you may need to change the code according to your application. This library is not "perfect" for every project. We could not guarantee that. We hope it could offer some help. Please refer to IT's product website for more technique document.
This item come with one Special I2C/COM Cable
Related Keywords
Related Keywords
You May Also Like
You May Also Like
-

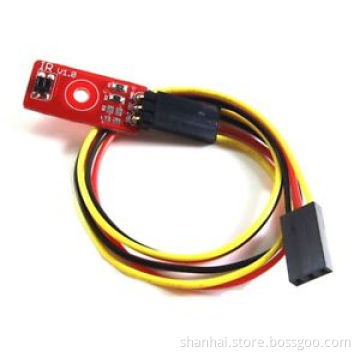
Reflectional Infrared Switch Sensor 2cm Arduino Compatible

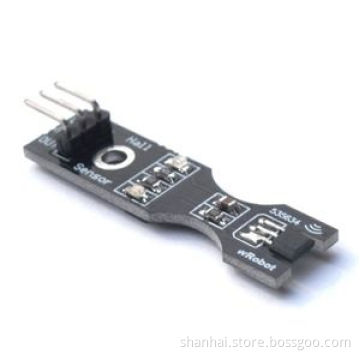
Wrobot Hall Velocity Measurement Sensor

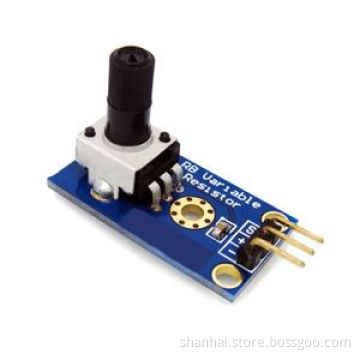
High Sensitivity Rotary Angle Sensor 1 Arduino Compatible
Related ProductsProduct Categories-
Antenna(1)
-
PCBA(30)
-
Optical Fiber(1)
-
Acceleration Sensor(2)
-
Gas Sensor(2)
-
Image Sensor(2)
-
Infrared Sensor(6)
-
Pressure Sensor(1)
-
Temperature & Humidity Sensor(3)
-
Ultrasonic Sensor(2)
-
Voltage Sensor(1)
-
Speaker,Trumpet & Buzzer(1)
-
Sensor Switch(1)
-
Membrane Switch(1)
-
GPS(6)
-
Communication Module(16)
-
Fixed Wireless Terminals(2)
-
Electronics Stocks(31)
-
Remote Control(1)
-
Sender, Receiver(1)
-
EAS & Accessories(1)
-
Other Car Accessories(1)
-
Car Radar(1)
-
Other Tires(1)


