

DC12V 20A Street Controller PWM Controller with LED
- Payment Type:
- T/T, Paypal
Quantity:
Your message must be between 20 to 2000 characters
Contact NowBasic Info
Basic Info
| Place of Origin: | Shenzhen Guangdong China |
|---|---|
| Payment Type: | T/T, Paypal |
Product Description
Product Description
DC12V 20A Street Controller PWM Controller with LED
Synopsis of this PWM Controller:
The controller is designed for solar power supply system, solar DC street lamp system, And use the intelligent controller of special computer chips. Use a key type light touch switch, complete all operation and Settings.
With short circuit, overload, unique counter-attack joint protection, full of, put automatic shutoff, restores and so on the whole function protective measures, the detailed charging indicator, battery state, load and all kinds of fault indicator.
The main features:
1, Using MCU and special software, based on the special software of the expert control system, realizes the intelligent optimization SOC control.
2, The temperature compensation adopt external temperature sensor, the control accuracy is higher than the internal temperature sensor.
3, Have the overcharge, discharge, electronic short-circuit, overload protection, unique counter-attack joint protection automatic control; Above the protection are not causing damage to any component, and don't burn the fuse.
4, Adopt the tandem PWM for charging main circuit, make the charging loop voltage is reduce nearly half than use the diode charging circuit. The charging efficiency is higher 3%~6% than the non-PWM, increased the power of time. Enhance the charge of over-discharge recovery, normal direct charge, the float-charge automatically controlled way can make the system has a longer use life.
5, The intuitive LED iuminotron indicates the current battery status, allow users to understand the situation of use.
6, The all control adopt the technical grade chip, can run freely in cold, high temperature, damp environment. At the same time use the crystal oscillator timing control, precise timing control.
7, Using the digital LED display and Settings, a key type operation can complete all Settings, use is very convenient for intuitive.
Installation and use:
1. Controller should be fixed to firm. Dimensions: 150 X 140 (mm)Mounting hole dimensions: 140 X 110 (mm)
2. Prepare for the conductor: Suggest using stranded copper core insulation wire. Firstly confirm the wire length, ensure the case of the installation position, as far as possible to reduce the length of ligature, in order to reduce electric loss. According to induction current density of not more than 5A/mm2 to choose copper conductor sectional area. Put one side of the lug of the controller stripped insulation of 10 mm.
3. To connect the terminal on the battery of the controller, then put the other end of the head connect to the battery. Pay attention to +, - pole, don't reverse connection. If the connection is correct, lamp (2) should be on, can check by press button. Otherwise, shall be checked if the connection is correct. In case of reverse connection, would not burn fuse and damage any component of controller. Fuse only as a protection for the controller itself when the internal circuit damage and short circuit...
4. Connect battery conductor, to connect the terminal of the battery of the controller, then connect the other terminal to the battery. Note the +, - pole, don't reverse connection, if there is sunshine, charging indicator should be on, Otherwise, shall be checked if the connection is correct.
5, Connect the load, put the wired of the load to the output of load of the controller, Note the +, - pole, don't reverse connection, so as not to burn out appliances.
Contact: 13534216984

Related Keywords
Related Keywords
You May Also Like
You May Also Like
-

Super Power DC 96V 12kw AC380V off-Grid Inverter

Solar Products MPPT Solar Charge Controller
Pure Sine Wave DC 96V 15kw Solar Power Inverter
Related ProductsProduct Categories-
Pure Sine Wave Solar Inverter with UPS Function(Horizontal )(32)
-
Pure Sine Wave Solar Inverter with UPS Function(Vertical)(32)
-
300-1000W Economy Mini Watts Solar Inverter(32)
-
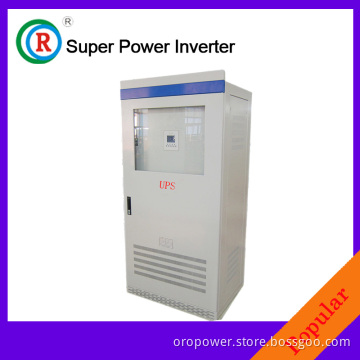
Super Power Inverter (UPS) 30KW-100KW(13)
-
Super Power Solar System(32)
-
Communication Inverter(8)
-
Solar Inverter-Rack-Mounted Type(27)
-
1-30KW Solar Inverter &Solar Controller Integrated Machine(32)
-
Solar Inverter&Controller Integrate Machine Build-in Battery(21)
-
PWM Solar Charge Controller(19)
-
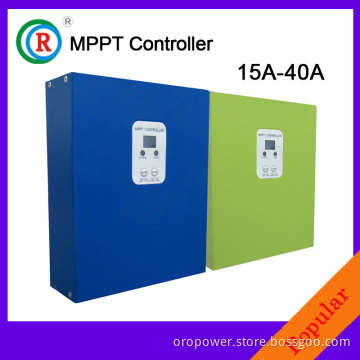
MPPT Solar Charge Controller(32)
-
High Frequency Inverter Emergency Power Supply(20)
-
Maintenance Free Lead-acid Battery(6)


