
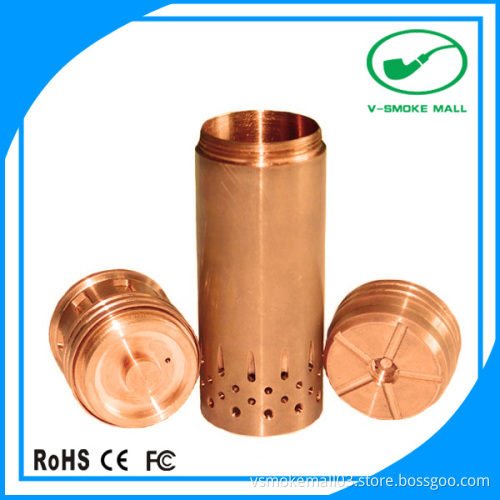


1:1 Aluminium body Surefire Origin onyx mod clone
- Payment Type:
- T/T, L/C, D/A, Western Union, paypal
- Incoterm:
- Others
- Min. Order:
- 10
- Min. Order:
- 10
- Delivery Time:
- 4 Days
- Transportation:
- Ocean, Land, Air
Your message must be between 20 to 2000 characters
Contact Now| Place of Origin: | Shenzhen China |
|---|---|
| Productivity: | 1500pcs/days |
| Supply Ability: | 1000pieces |
| Payment Type: | T/T,L/C,D/A,Western Union,paypal |
| Incoterm: | Others |
| Certificate: | ROHS CE FCC |
| Transportation: | Ocean,Land,Air |
1:1 Aluminium body Surefire Origin onyx mod clone
Select "post fader" and the EQ (and insert) is placed after the fader and before the DB25 / Firewire outputs
Select "pre fader" and the EQ (and insert) is placed before the fader and heads straight to the DB25 /
onyx mod peration Process
1 - Make sure the power cord is not connected and remove the back and the I/O assembly (it is not necessary to remove the front panel and the zillions of buttons - unless you want ot blow an hour or so playing with buttons).
2 - Remove the number plate from the top of the I/O assembly - this will expose the J-plugs connecting the I/O board to the Mix board. Note: Leave everything connected.
4 - With the I/O assembly upside down, the J-plugs are numbered from left to right. The left-most plug is J7 and the first wire goes to pin one in that plug (on the boards I did, the first wire was red). Take a black marker and mark the following wires (counting from left to right) in the parallel bus cables:
Contact:
Atten : Joyce Huang
Email: vsmokemall03 at gmail.com
skype: v-smokemall03
Whats app: +8608898411481
Mod blackhawk panzer, panzer blackhawk mod / Mod blackhawk panzer, panzer blackhawk mod / Mod blackhawk panzer, panzer blackhawk mod


Related Keywords


